Sealing cracks in exterior walls is an essential step to prevent water infiltration, improve insulation, and maintain the structural integrity of your home. Here’s a step-by-step guide:
Materials Needed
- Crack filler (mortar, caulk, or epoxy, depending on the material of the wall)
- Wire brush
- Chisel or scraper
- Sandpaper
- Paintbrush
- Primer and paint (optional)
- Waterproof sealant
- Protective gloves and safety goggles
Step-by-Step Process
1. Clean the Area
- Use a wire brush to remove loose debris, dirt, or paint from the crack.
- Wash the area with water if necessary, and let it dry completely.
2. Prepare the Crack
- Use a chisel or scraper to slightly widen the crack, forming a V-shape.
- This ensures the filler adheres properly.
- Remove dust with a brush or compressed air.
3. Choose the Right Filler
- For Masonry Walls: Use a ready-mixed mortar or cement-based crack filler.
- For Small Cracks (<1/4 inch): Acrylic or silicone-based caulk works well.
- For Large Cracks (>1/4 inch): Epoxy or polyurethane sealants provide better durability.
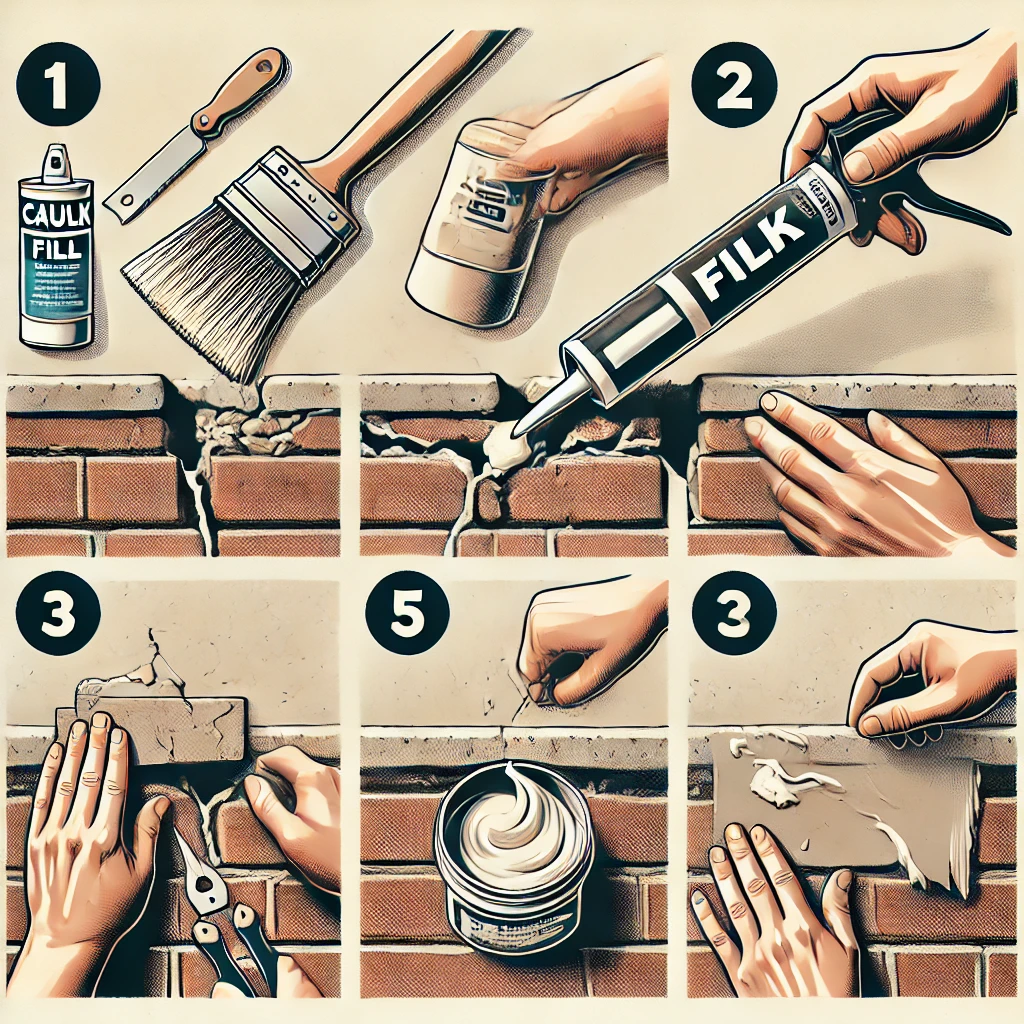
4. Apply the Filler
- Use a caulking gun for sealants or a putty knife for mortar.
- Press the filler into the crack, ensuring no air gaps remain.
- Smooth the surface with a wet finger or a trowel.
5. Allow to Cure
- Follow the manufacturer’s curing time.
- Avoid exposing the area to water or extreme temperatures during this period.
6. Sand and Finish
- Sand the patched area to level it with the wall surface.
- Wipe away dust.
7. Paint or Seal
- Apply a primer if painting is required.
- Paint the area to match the surrounding wall, or apply a waterproof sealant for added protection.
Tips for Long-Term Results
- Inspect your walls annually for new cracks.
- Use a flexible filler for areas prone to movement.
- Ensure proper drainage around your home to minimize water-related damage.
Let me know if you’d like more specific advice for your wall type or situation!
Leave A Comment